EN-US
PT-BR
DE
ES
FR
Call Toll-Free 800-548-7341
Entrar
Início
Produtos
Ventosas Manuais
Levantadores de vácuo
Ventosas de Montagem
PEÇAS
OUTROS PRODUTOS
Empresa
Compromisso com a Qualidade
Sobre nós
Feiras comerciais
Informações de contato
Contate-Nos
Localizador do Negociante
ADDITIONAL REPAIR & MAINTENANCE
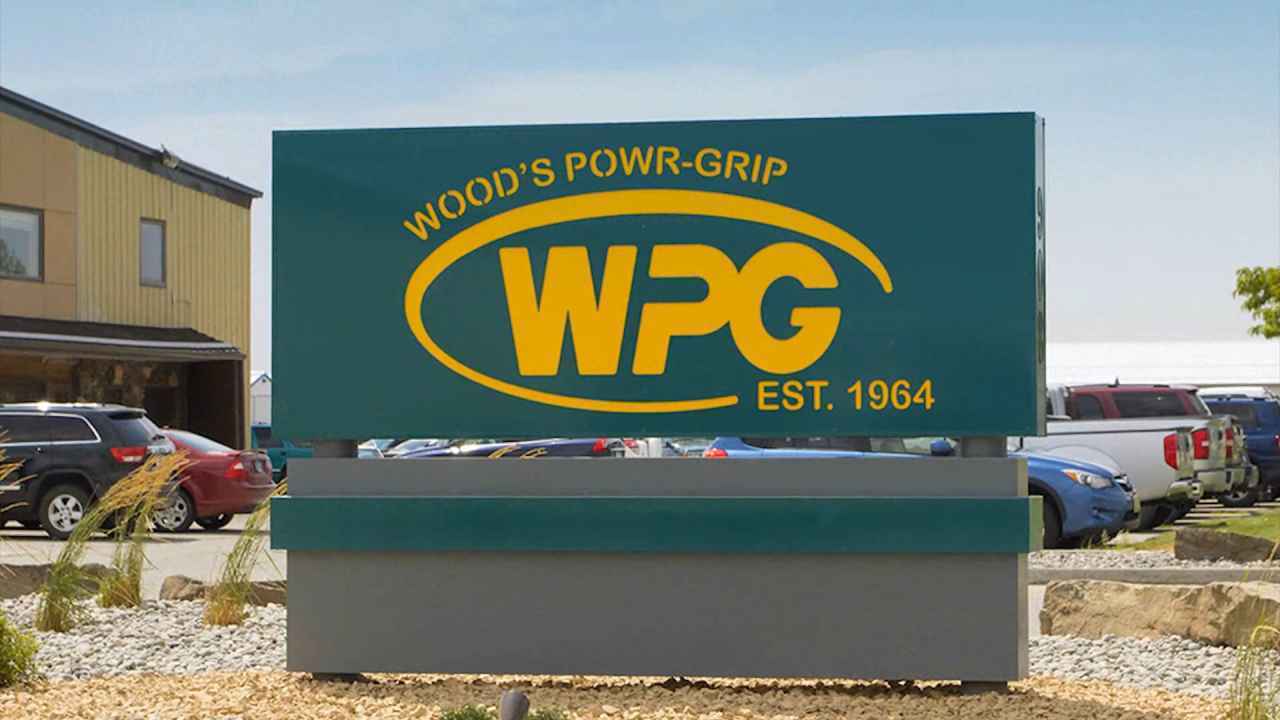
Built in Laurel, Montana. Shipped Worldwide.
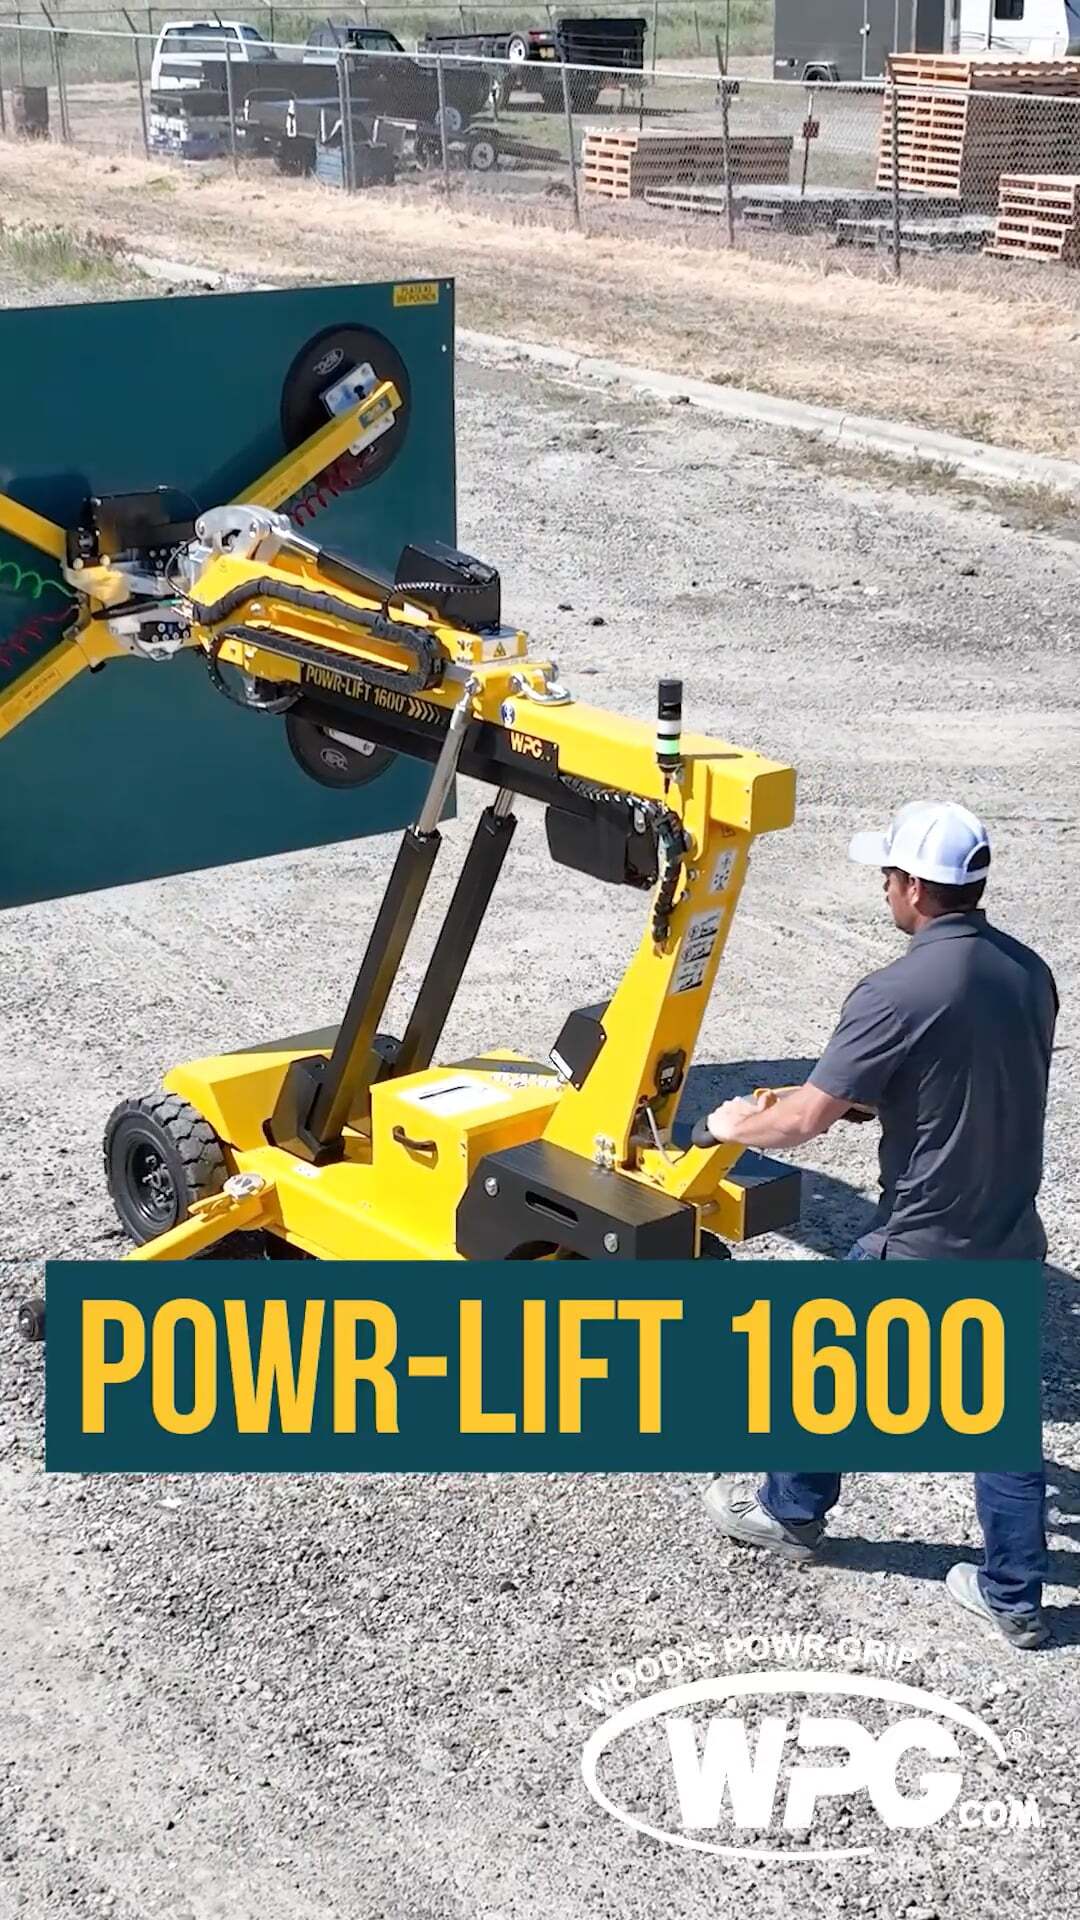
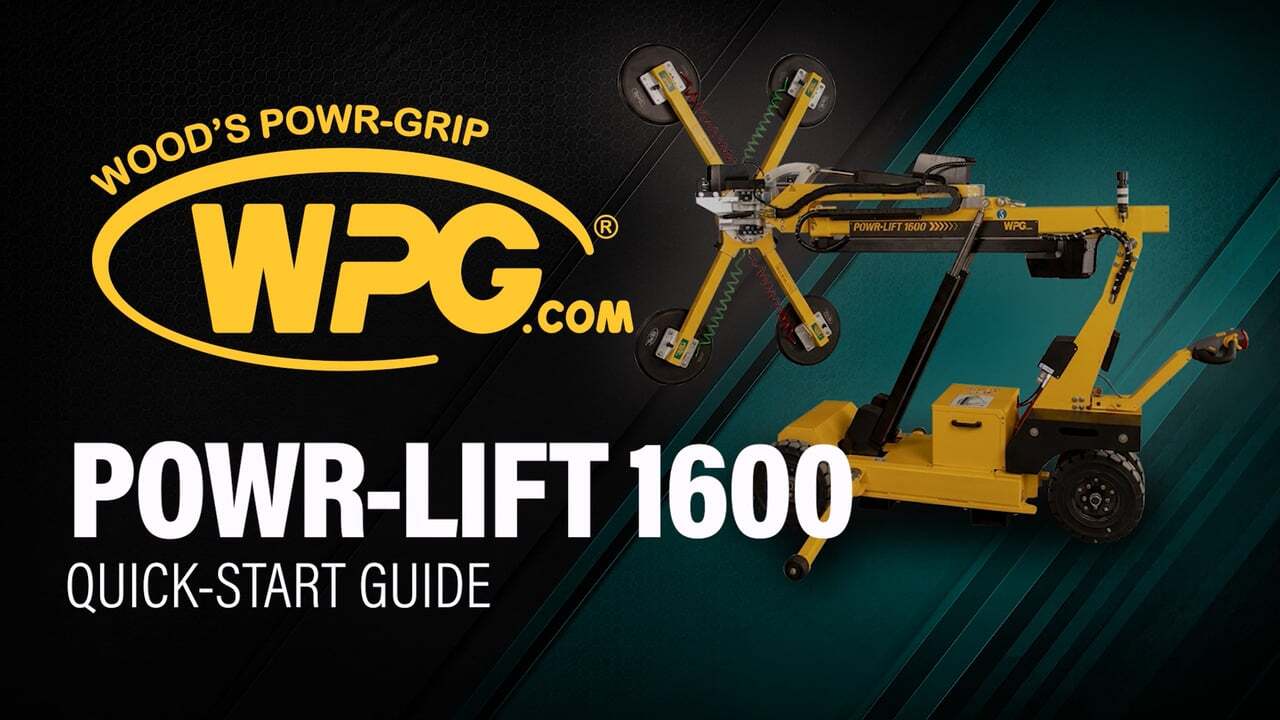
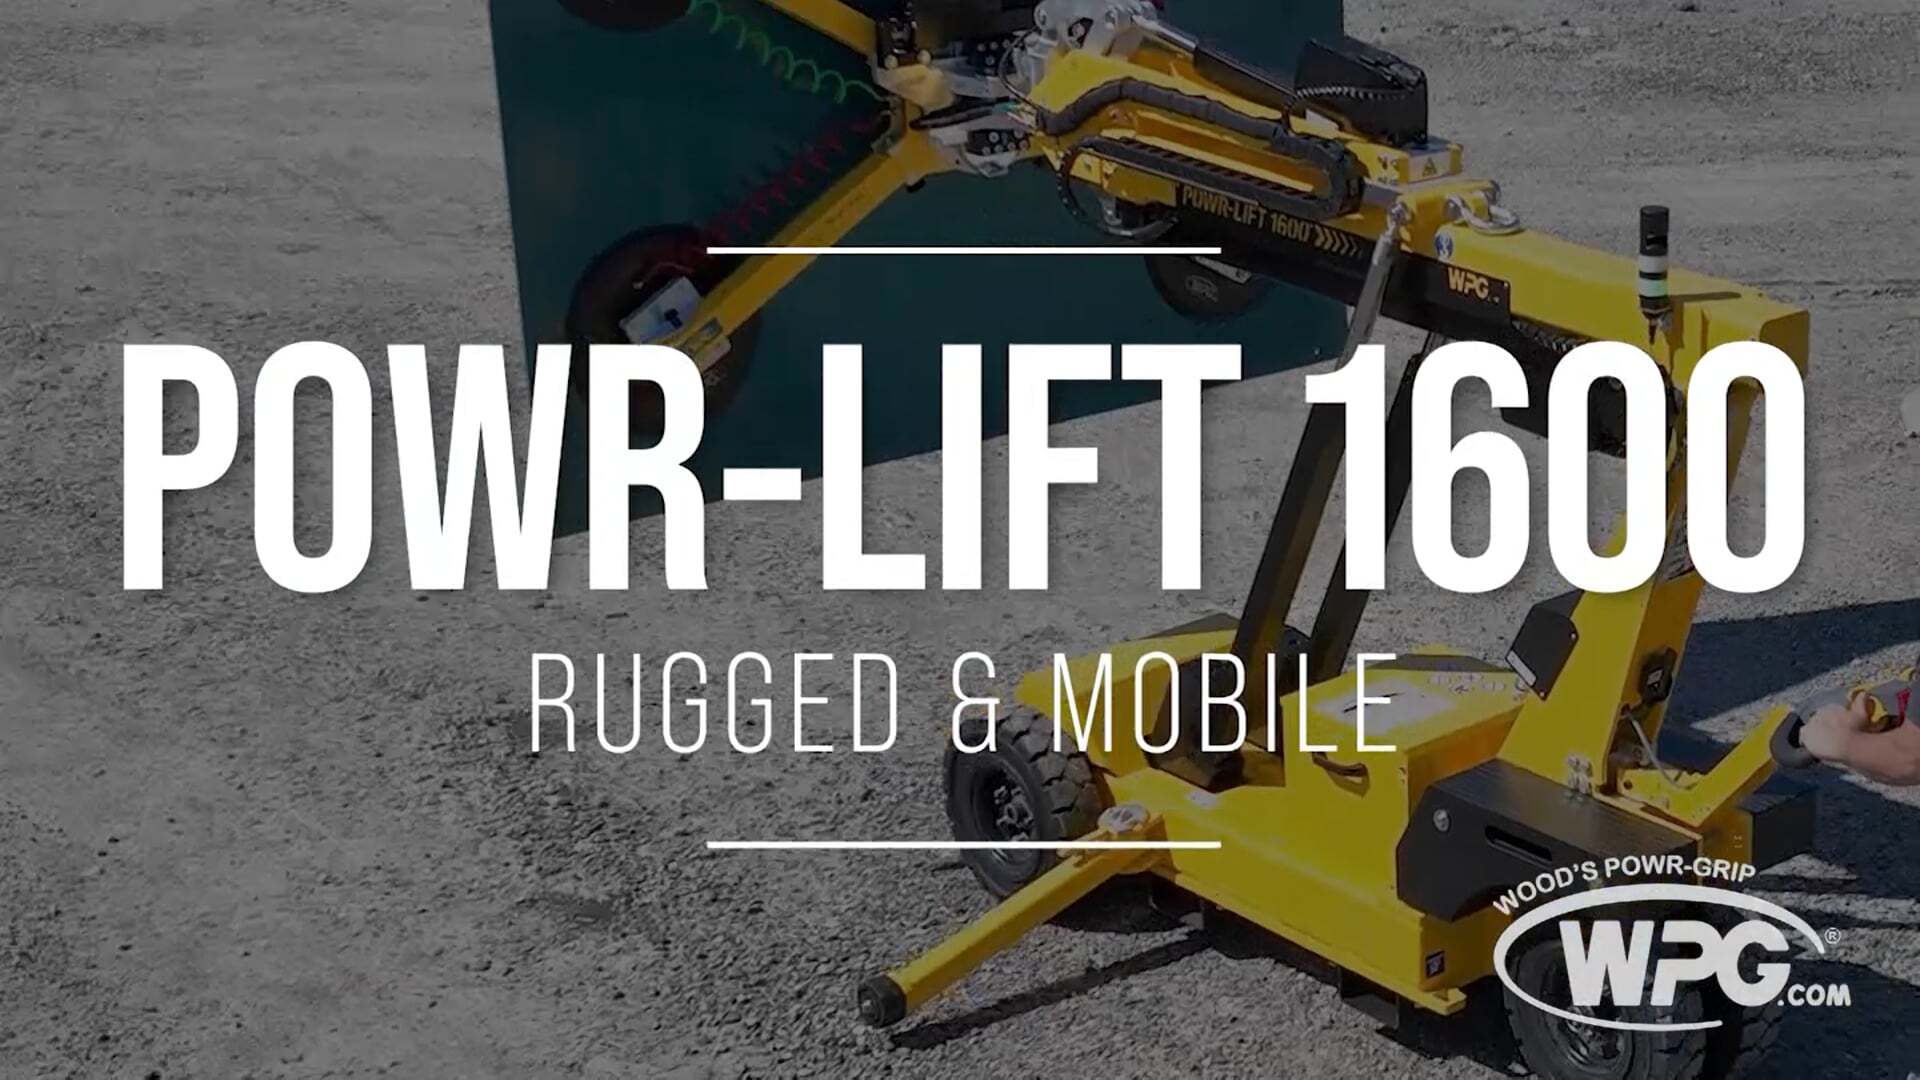
Wood's Powr-Grip Powr-Lift 1600
Powr-Lift 1600 Quick-Start Guide
Powr-Lift 1600: Transport, Position, and Lift with Ease
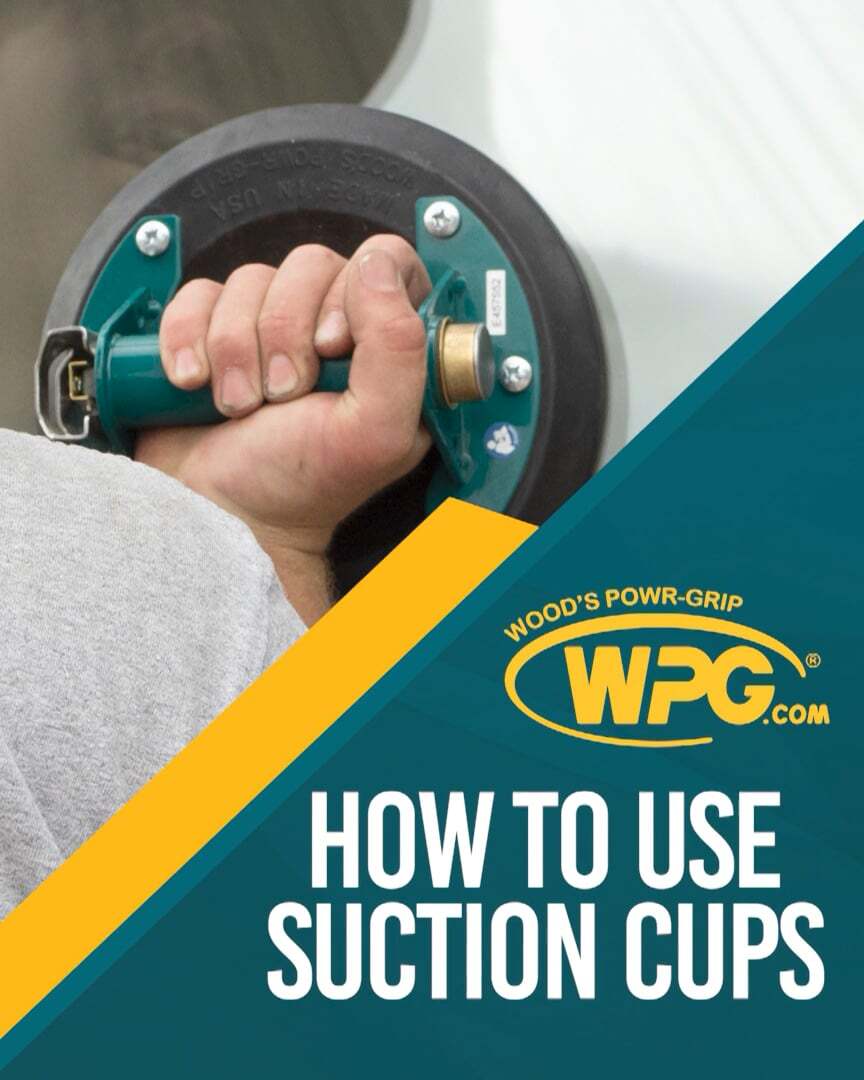
How to Use Suction Cups for Lifting Glass & More
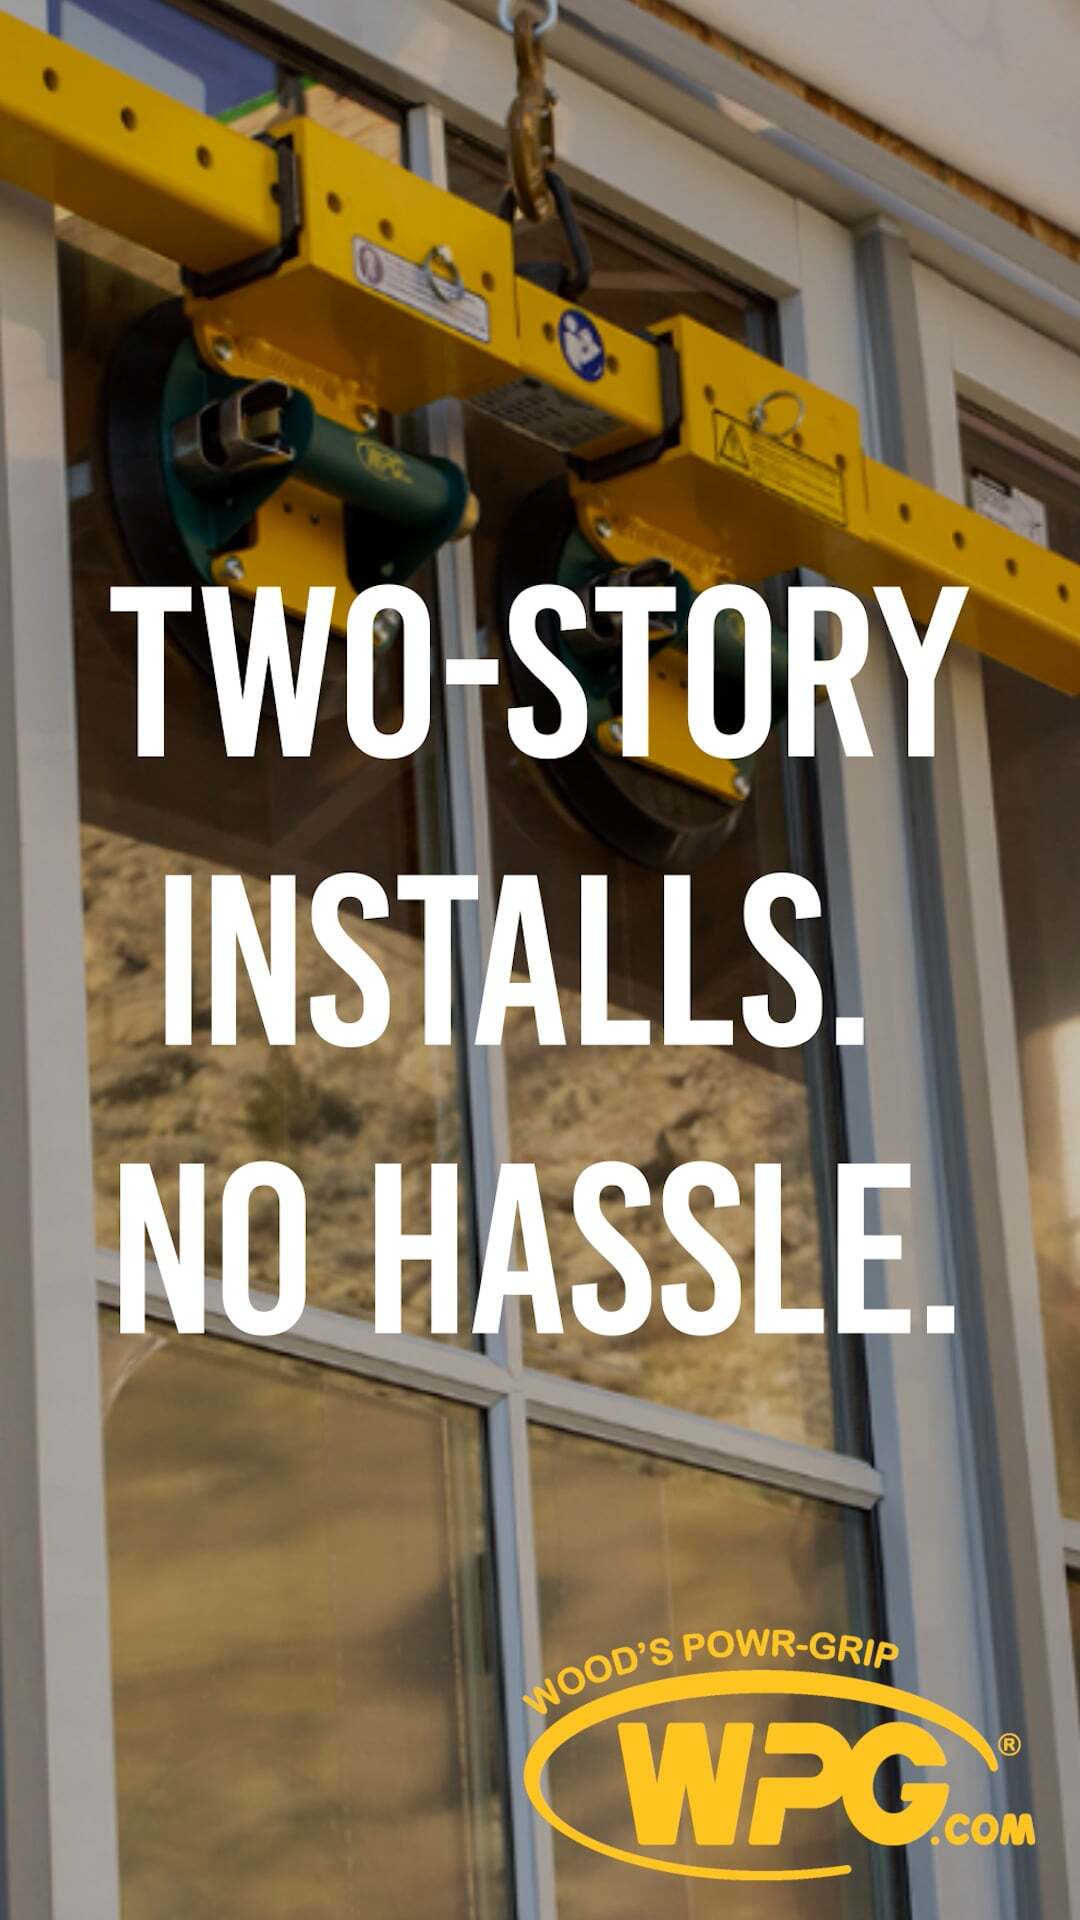
Take Window Install To the Next Level
Wood's Powr-Grip Vacuum Cups
About Wood's Powr-Grip
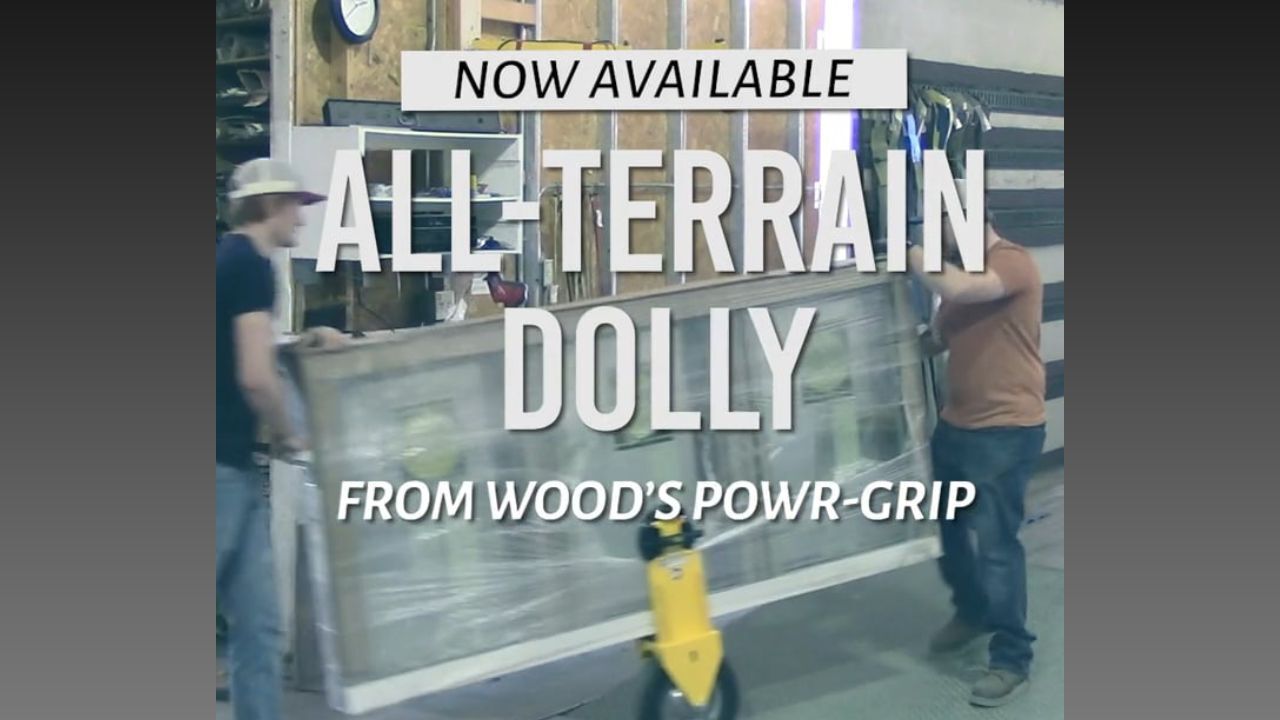
All-Terrain Dolly
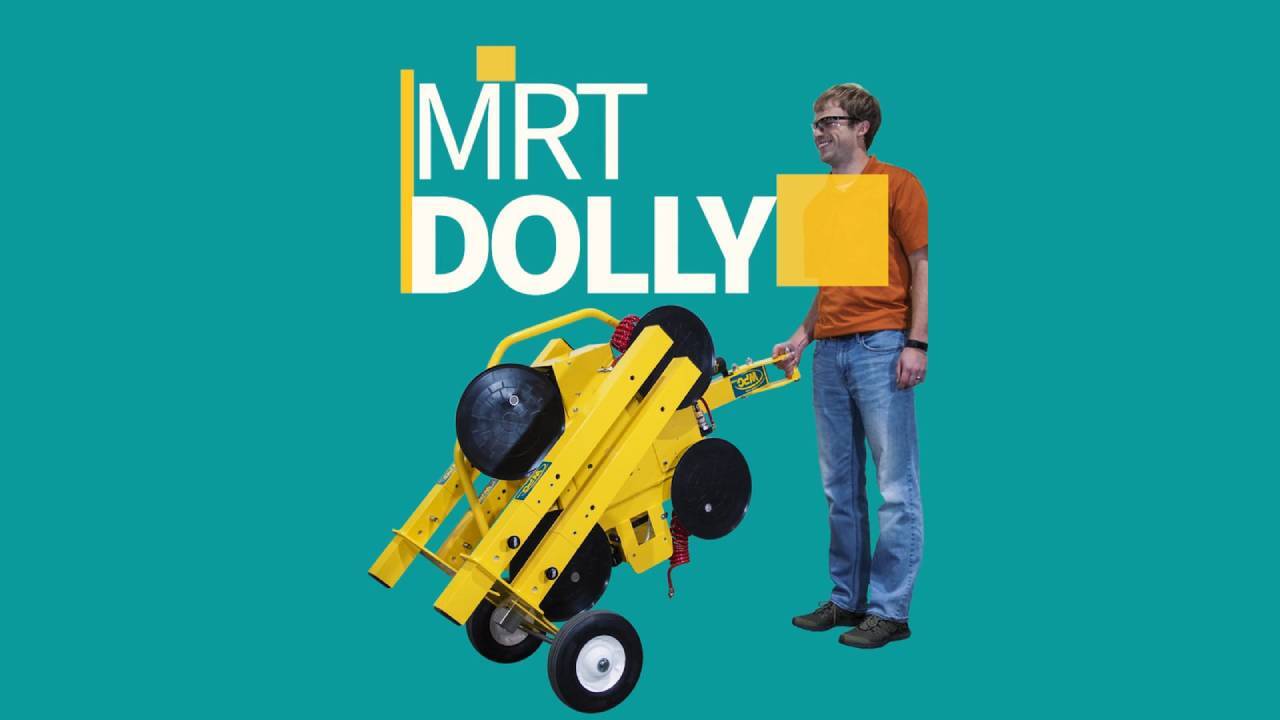
MRT Dolly